In this post we will see the steps on how to deploy software updates using SCCM 2012 R2. There are 2 ways to deploy software updates using SCCM 2012 R2, Manual and Automatic. In Manual software updates deployment, a set of software updates is selected the Configuration Manager console and these updates are deployed to the target collection whereas Automatic software updates deployment is configured by using automatic deployment rules. This method is used for deploying monthly software updates and for managing definition updates. When the rule runs, the software updates that meet a specified criteria (for example, all security software updates released in the last week) are added to a software update group, the content files for the software updates are downloaded and copied to distribution points, and the software updates are deployed to client computers in the target collection. In this post we will see the steps to deploy the software updates manually and for automatic software updates deployment, there will be a separate post.
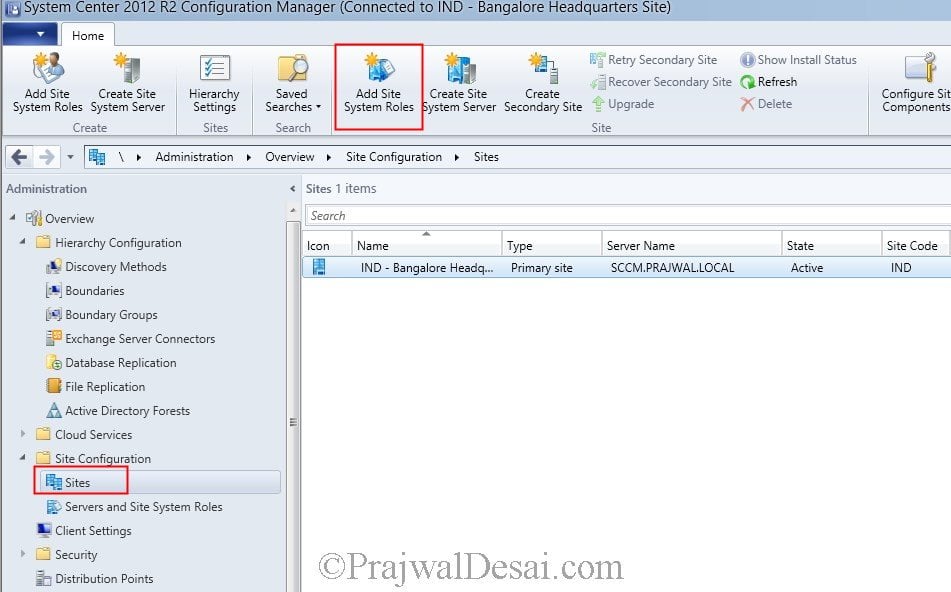
To start with, install the Software Update Point role first. Launch the Configuration ManagerConsole, click on Administration, expand Overview, click Site Configuration, click on Sites. At the top ribbon click on Add Site System Roles.
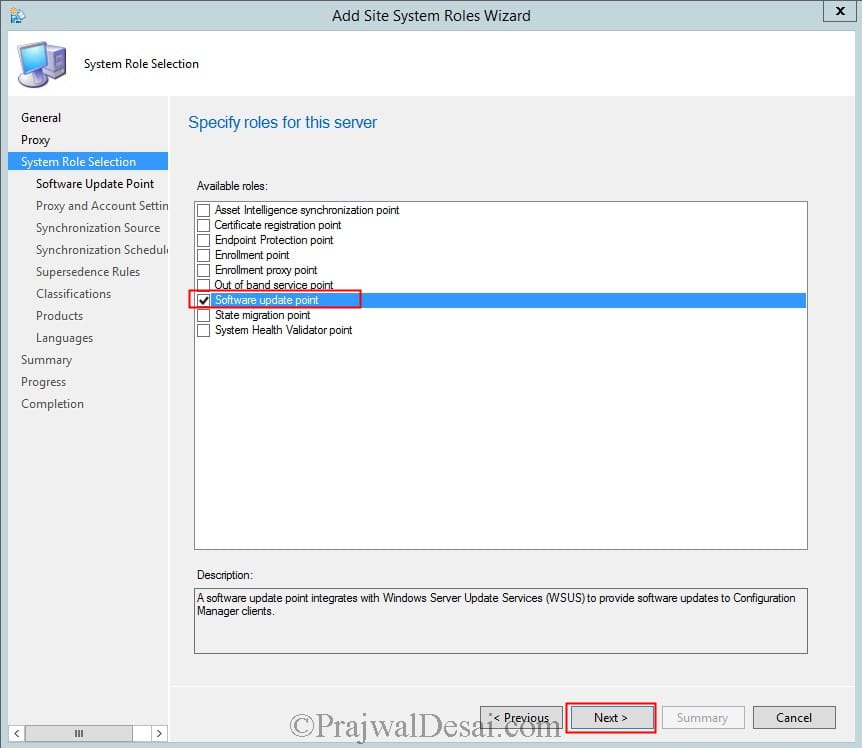
 From the Add Site System Roles Wizard, click on Software Update Point and click Next.
 For WSUS Configuration, select WSUS is configured to use ports 8530 and 8531 for client communications and click Next.
When you install WSUS, you can specify whether to use the default Internet Information Services (IIS) website or create a new custom WSUS website. As a best practice, select Create a Windows Server Update Services 3.0 Web site so that IIS hosts the WSUS 3.0 services in a dedicated website instead of sharing the same website with other Configuration Manager site systems or other software applications. When you use a custom website for WSUS 3.0, WSUS configures port 8530 for HTTP and port 8531 for HTTPS. You must specify these port settings when you create the software update point for the site.
 For WSUS Server Connection Account, click Use credentials to connect to the WSUS server, click on Set and choose the account. The account provides authenticated access from the site to WSUS server. Click Next.
 Click Synchronize from Microsoft Update and click Next.
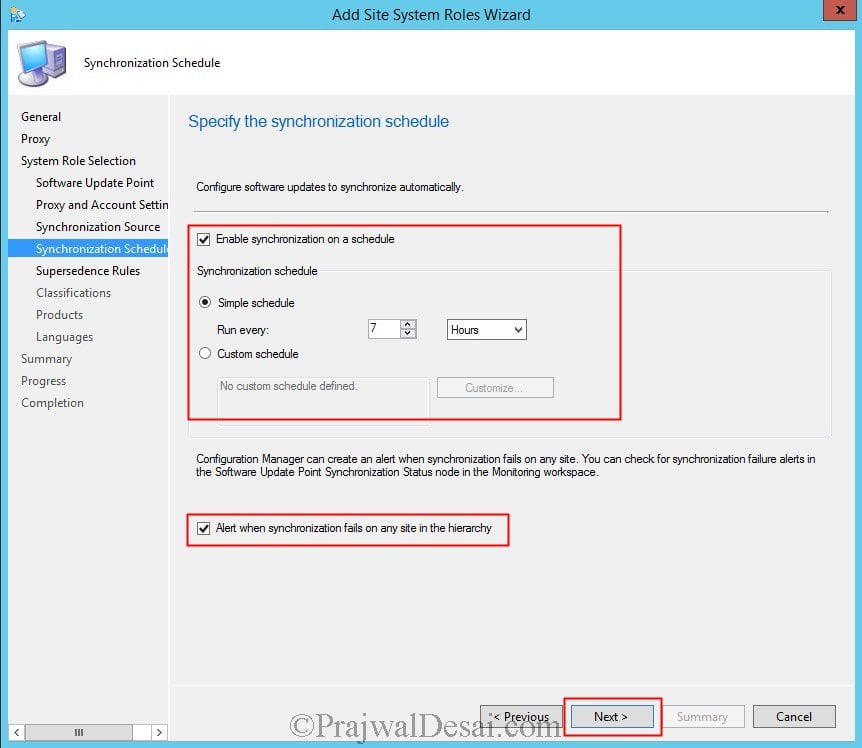
 Click Enable synchronization on a schedule and let the schedule be set to default (simple schedule). You may also click Alert when sync fails on any site in hierarchy. Click Next.
 For Supersedence behavior, select Immediately expire a superseded software update. Click Next.
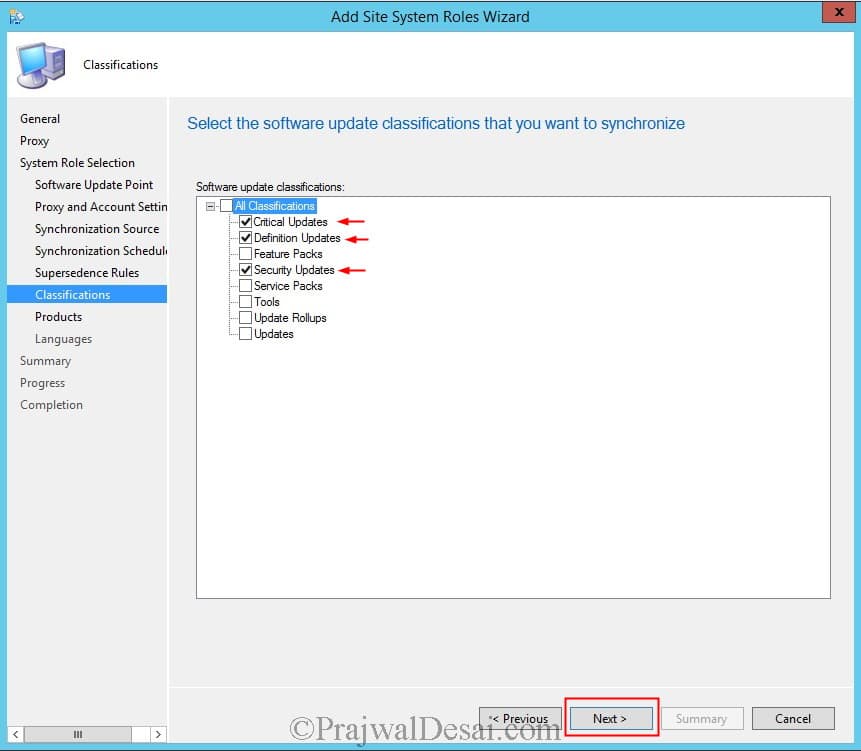
 Select Critical Updates, Definition Updates and Security Updates. Note that you can do this after installation of SUP. Click Next.
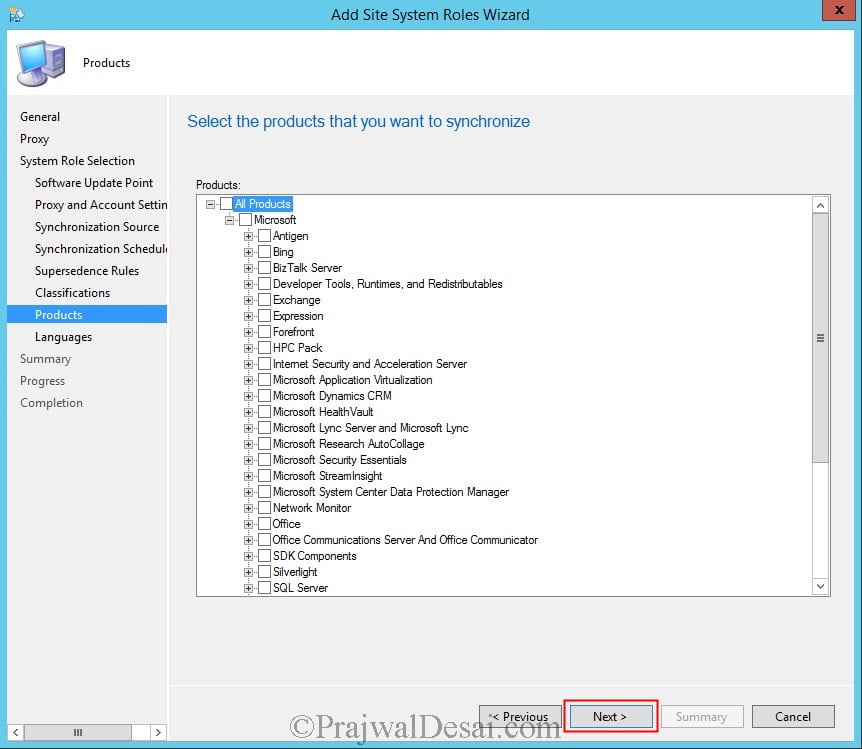
 Choose the products that you want to synchronize, in this step I have selected Windows 7,Forefront Endpoint Protection 2010. Click Next.
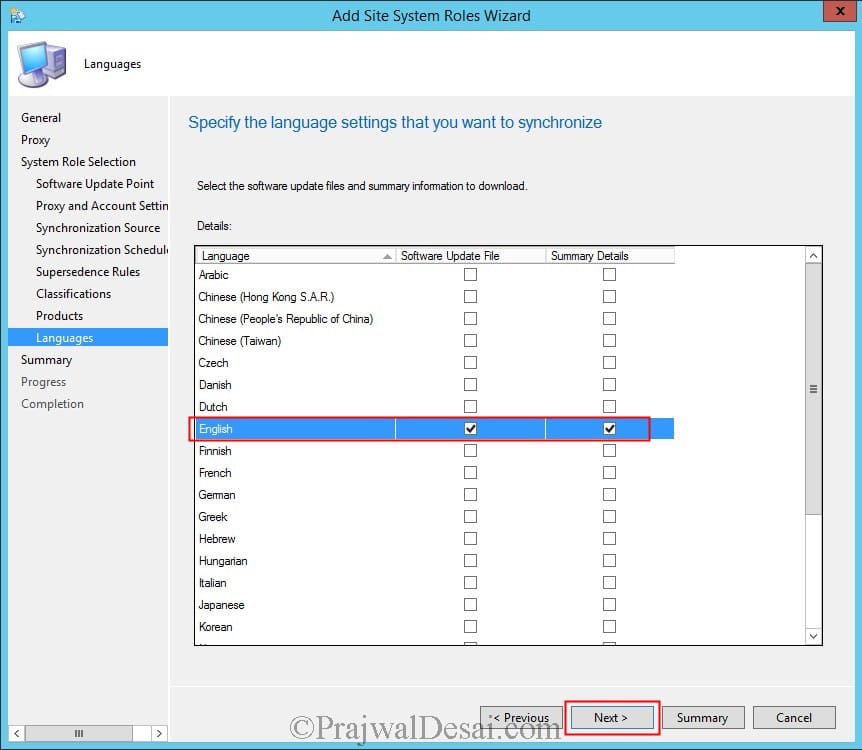
 Choose the desired language, click Next.
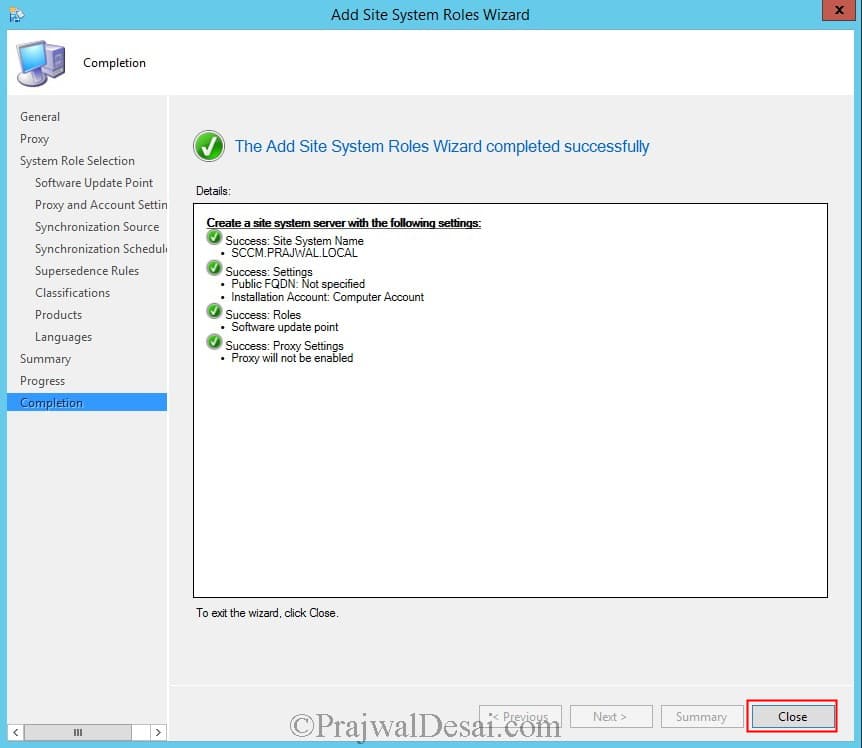
 The Software Update Point role has been installed. Click Close.
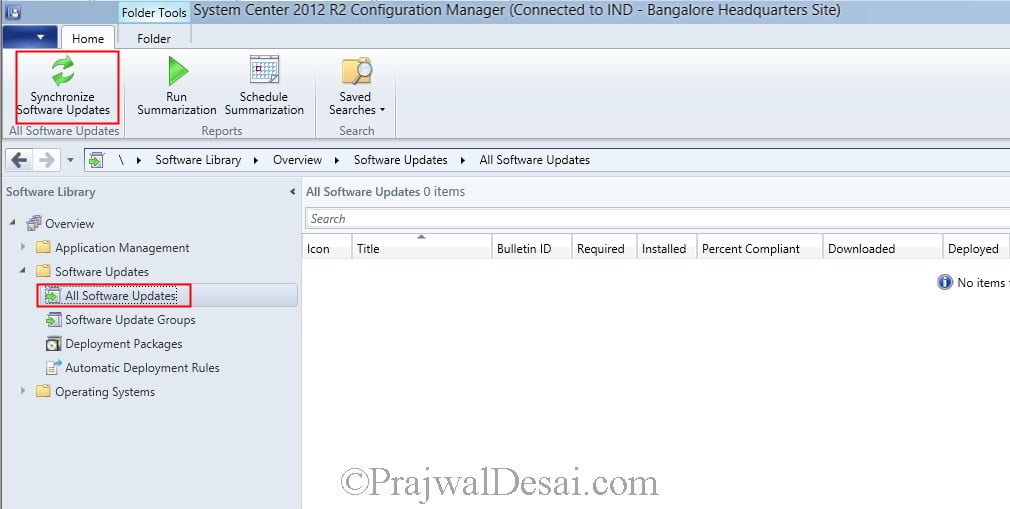
 In the configuration manager console, click Software Library, expand Overview, click SoftwareUpdates, click All Software Updates and at the top ribbon click Synchronize Software Updates.
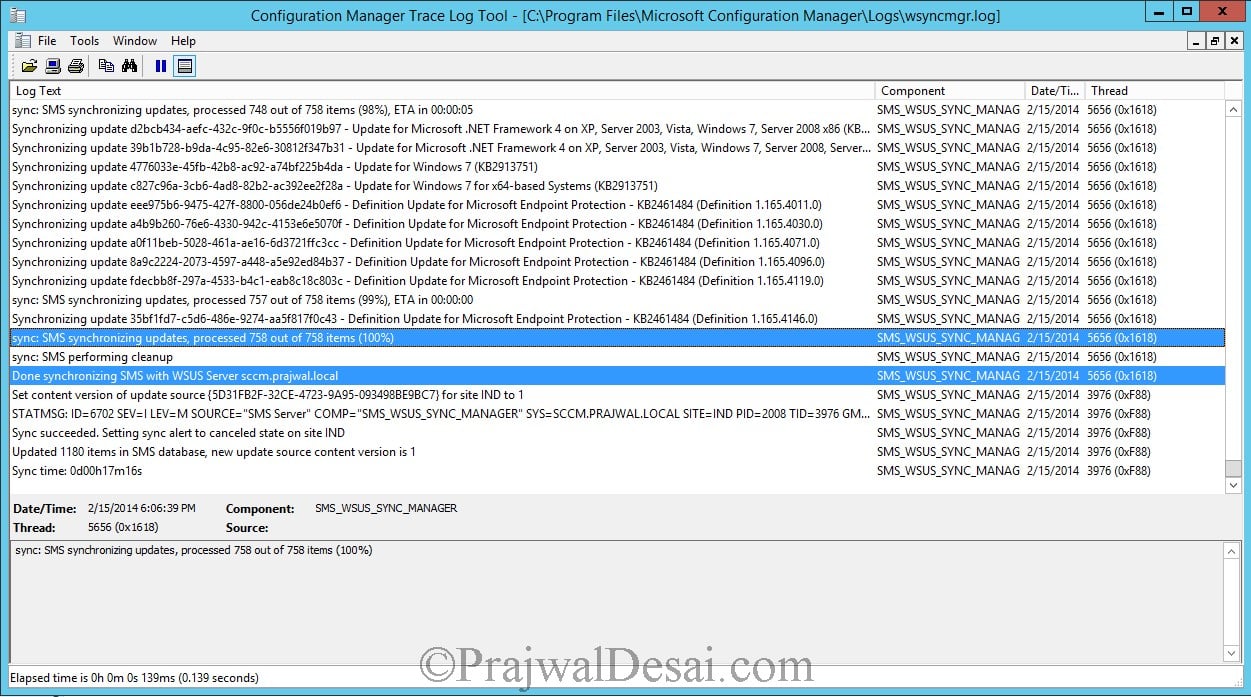
 To see what’s happening at the background, you need to have 2 files opened wsyncmgr.log and WCM.log file. Below is the screenshot of the wsyncmgr.log file and we can see that the WSUS is synchronizing the categories and updates.
 The synchronization is completed. The software updates can now be seen when you click All Software Updates option in CM Console. Note that the updates are yet to be downloaded.
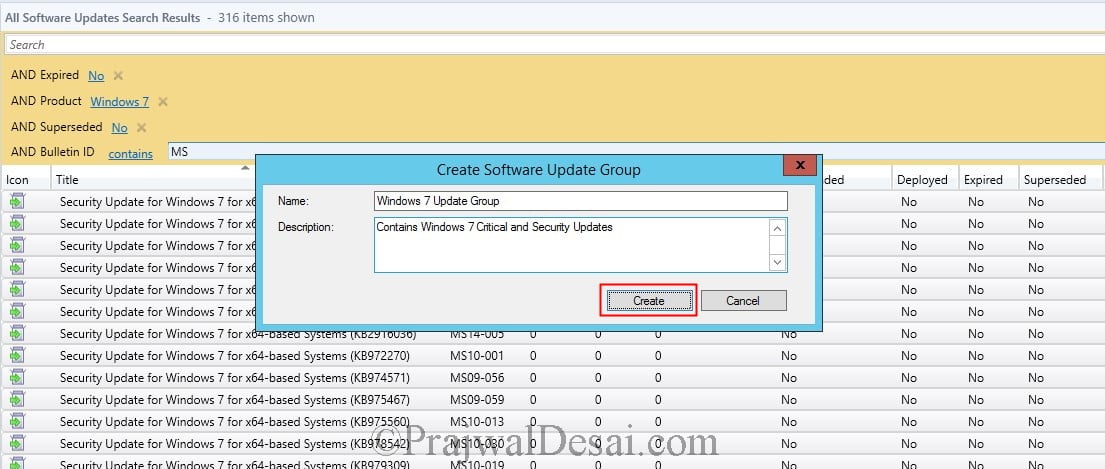
 Out of all the updates we will not deploy all of them rather we will filter the updates by adding criteria. Click on Add criteria. Select Expired, Product, Superseded, Bulletin ID. Click Add. Choose the product as Windows 7, Bulletin ID as MS, Expired as NO, Superseded as NO.
 Now select all the updates (hold Shift+page Down), right click on the updates and click Create Software Update Group.
 Provide the name to the software update group as Windows 7 Update group. Click Create.
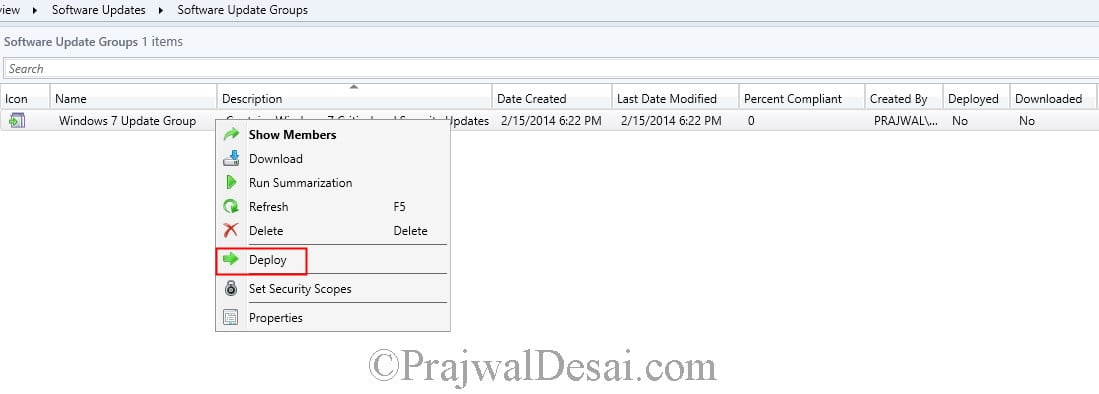
 Click on Software Update Group and you will find the software update group that was created in the previous step. Right click on the Windows 7 Update Group and click Deploy.
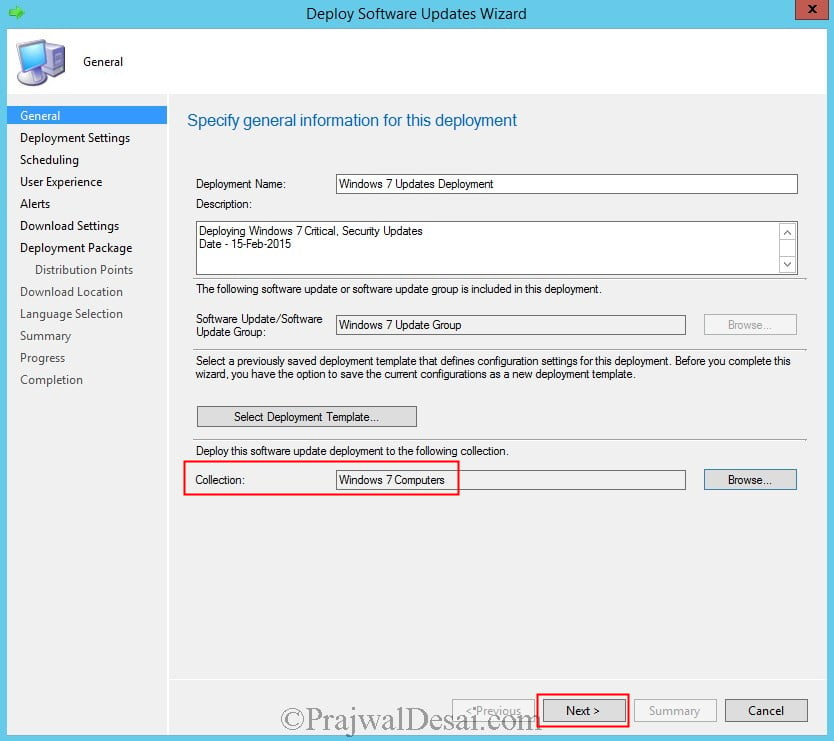
 On the Deploy Software Updates Wizard, provide a Deployment Name, description and choose the collection for which this software update deployment must be deployed. Click Next.
 Set the Type of deployment as Required and detail level can be set to Only success and error messages. Click Next.
 Configure the schedule for this deployment, set the Time based on to Client local time. Choose Software available time to specific time and set the Installation deadline to as soon as possible. Click Next.
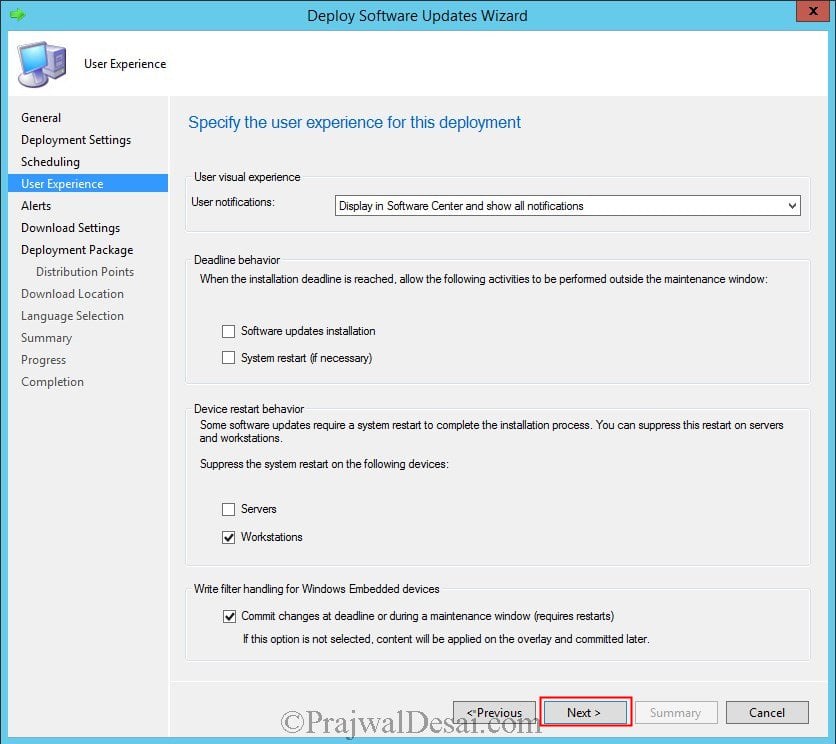
 On the User Experience page, you can choose to suppress the restart for Server or Workstations. Click Next.
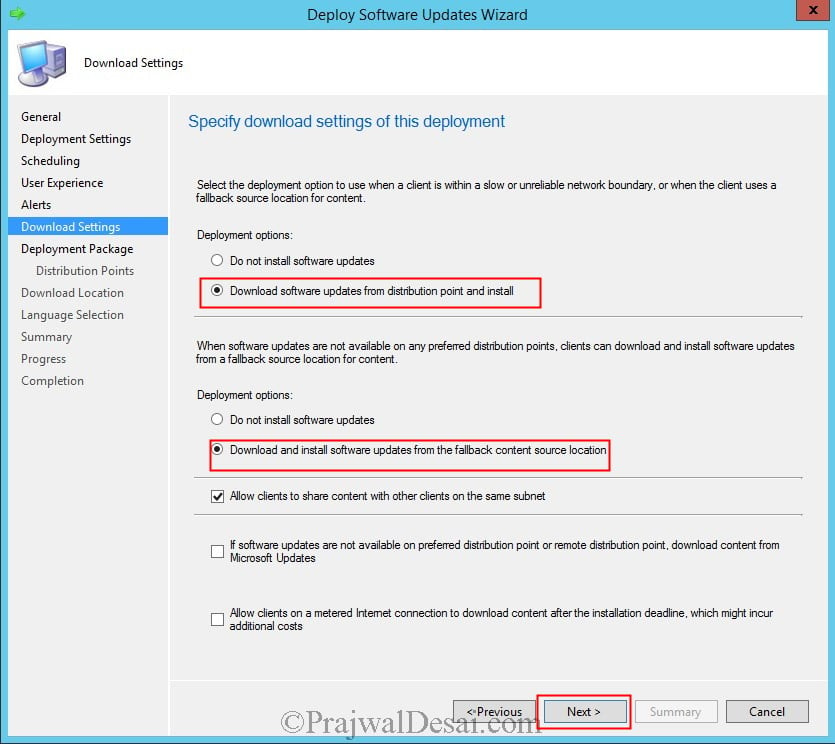
 For Deployment options, if a client is within a slow or unreliable network boundary then select Download software updates from distribution point and install. If the updates are not available with preferred DPs then select Download and install software updates from the fallback content source location. Click Next.
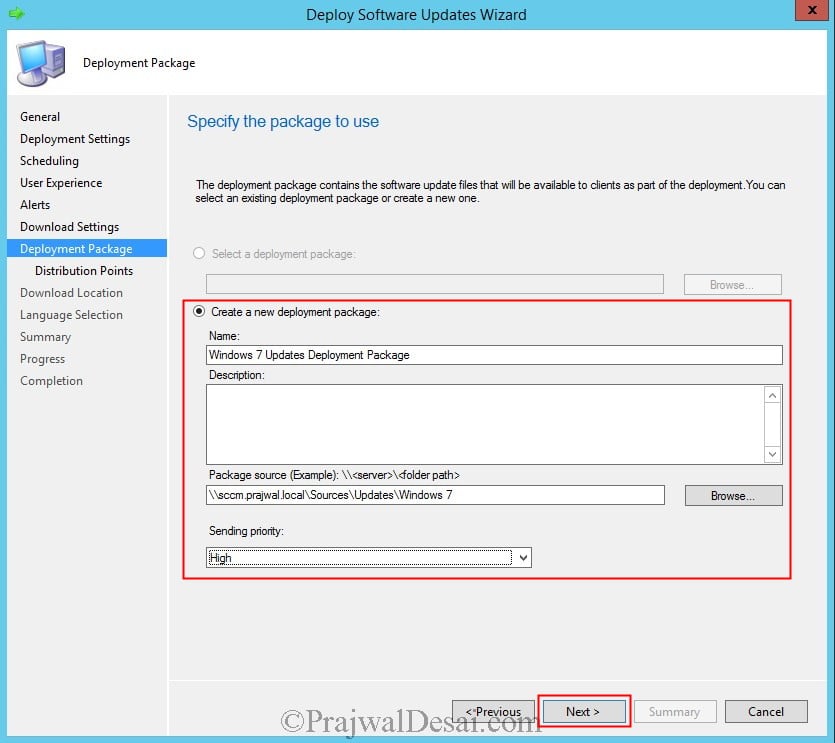
 Create a new deployment package by providing a name, location for the Package source and Sending priority. Click Next.
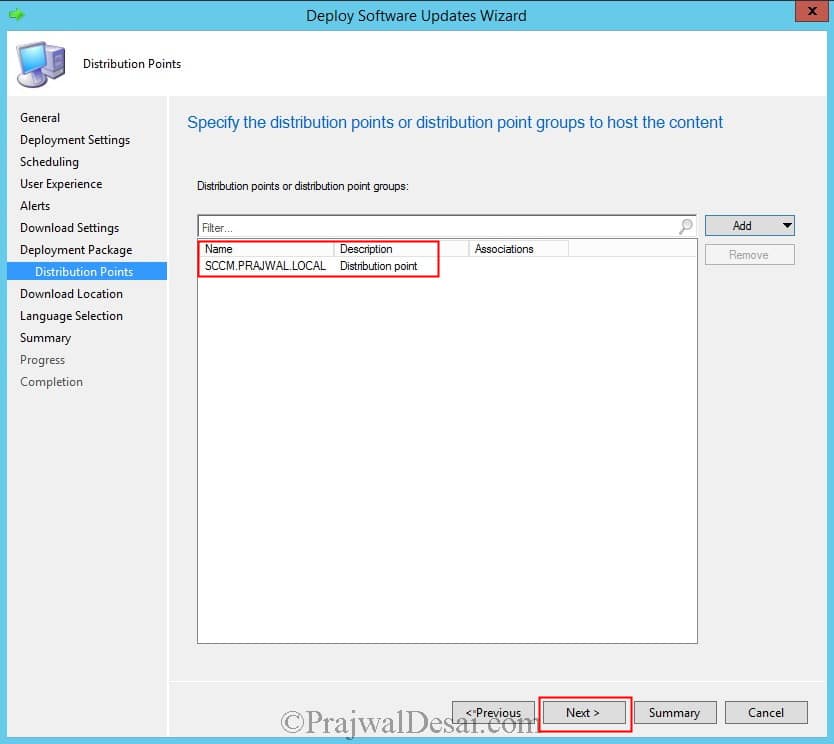
 Add the Distribution Point and click Next.
 For Download Location choose Download software updates from the Internet. Click Next.
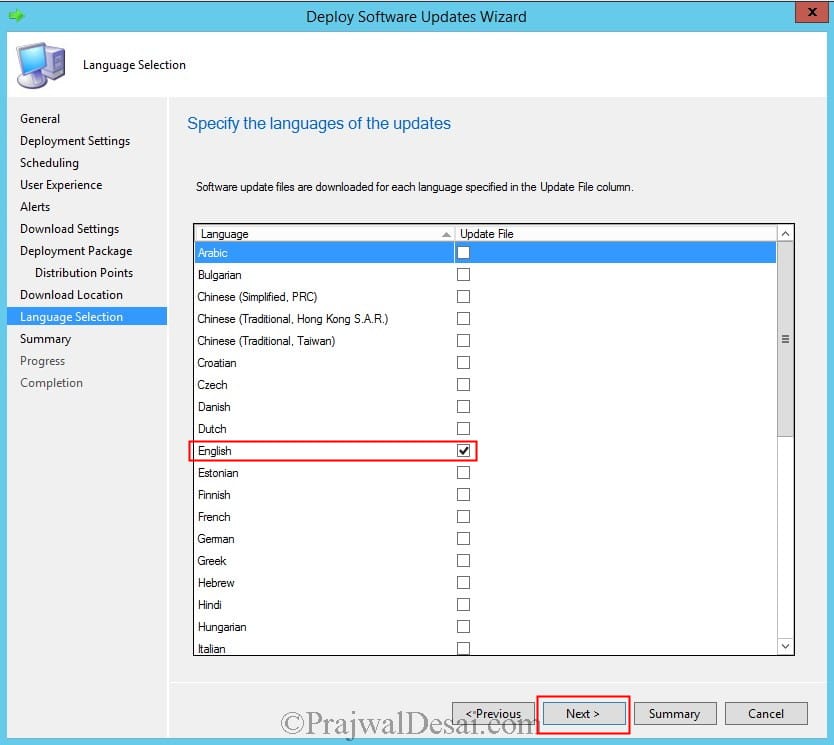
 Choose the language and click Next. The wizard will now download the updates and deploy them to the collection as per the schedule defined. Click on Close to close the wizard.
 After few minutes we see that the updates are installed on one the client machines in the collection and there is a notification that system needs to be restarted.
 You can choose to restart the computer by choosing Restart now or you can choose Snooze and remind me again in hours.


You must be logged in to post a comment.